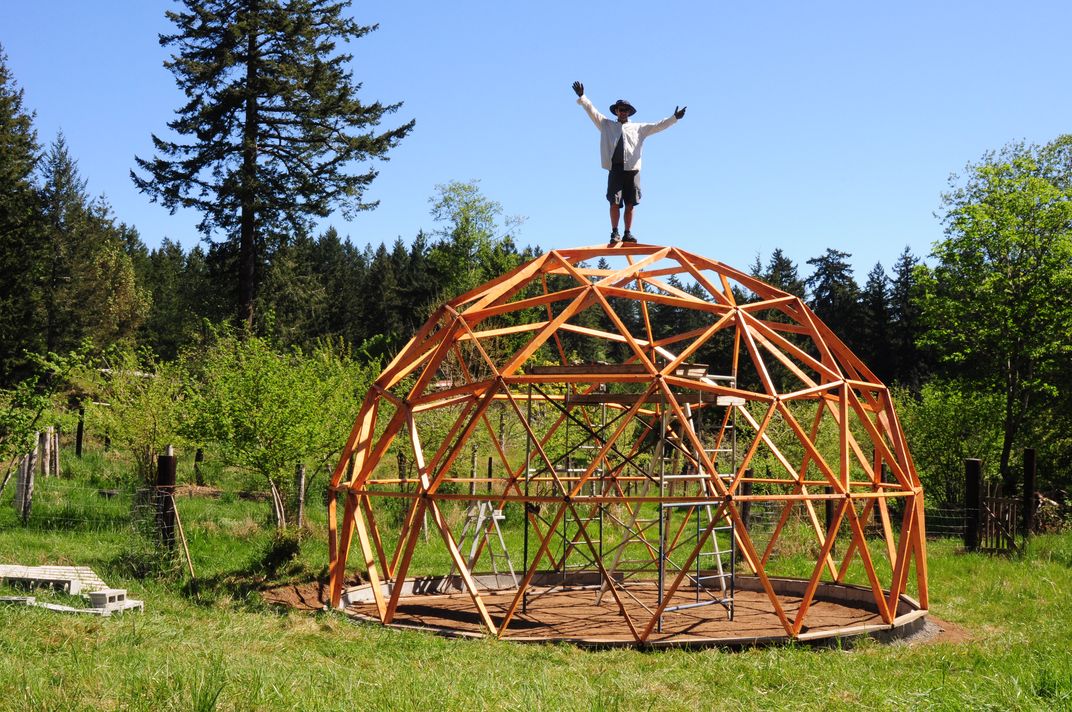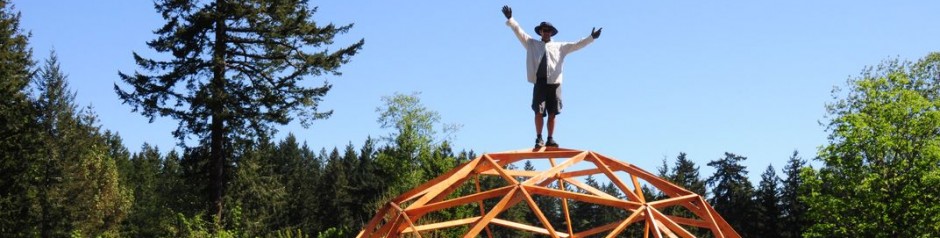
Biodome Greenhouse = Food Security

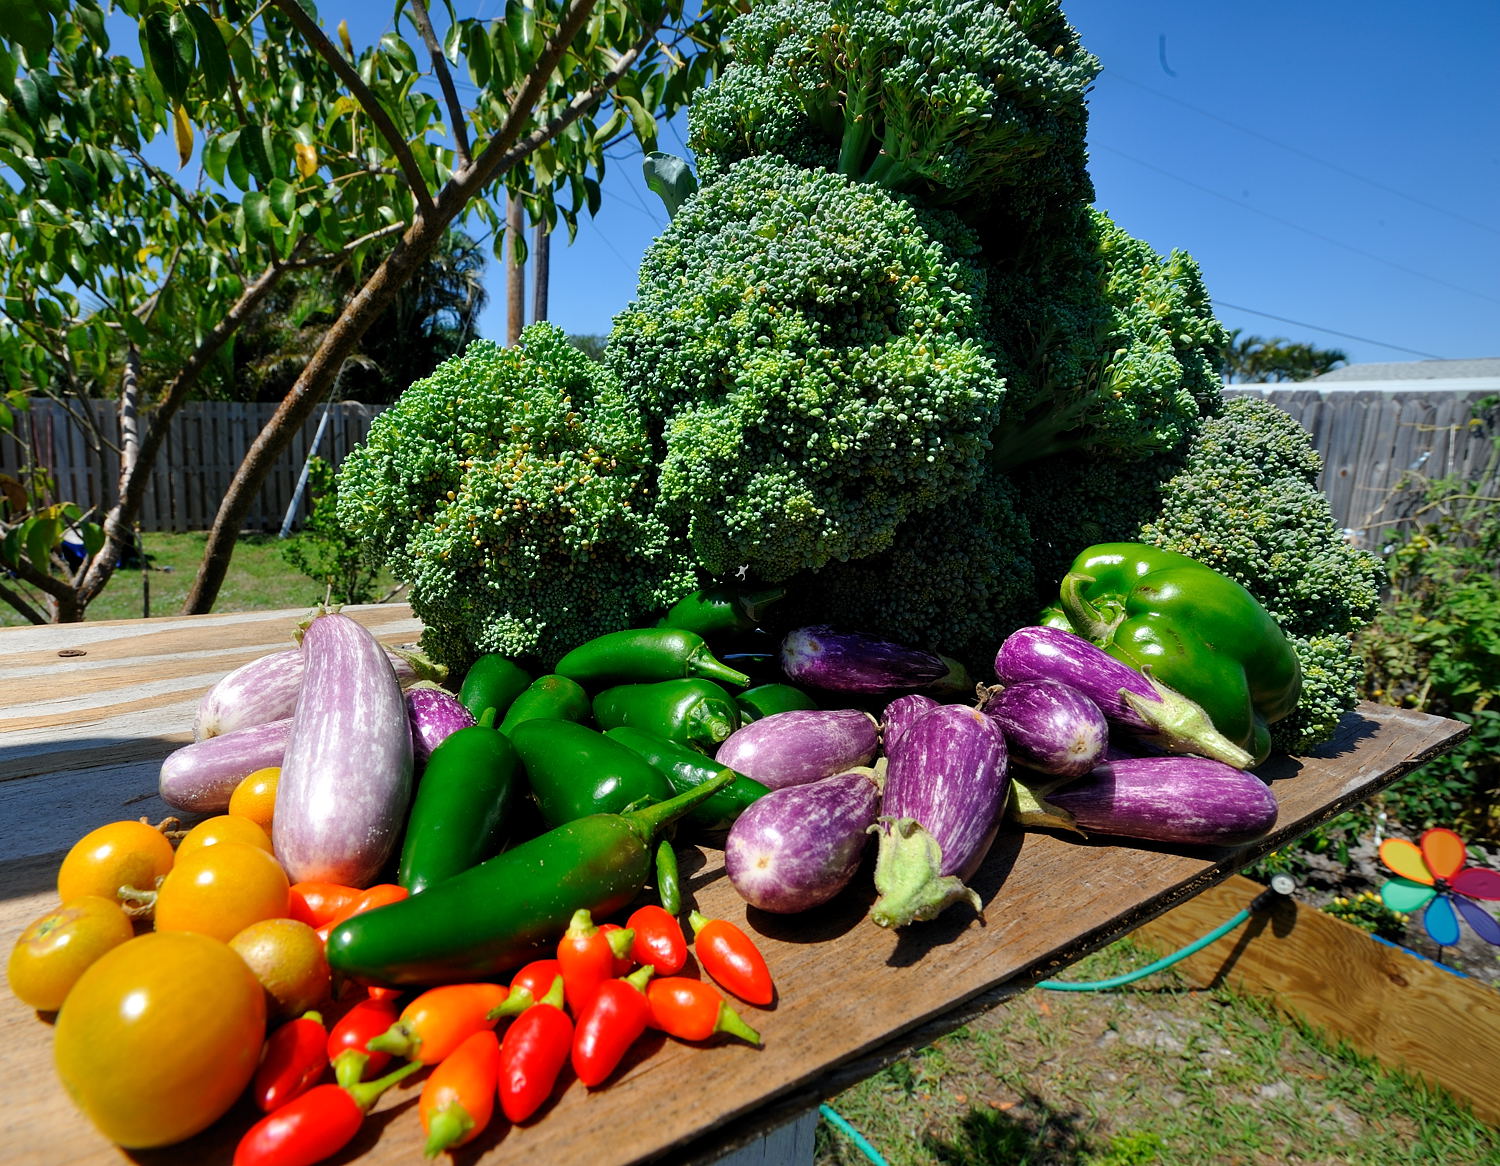
Preserving The Biodome Bounty
It’s harvest time all year round in the biodome but when the whole garden kicks into harvest mode it usually under the big full moon in September. It has been called the Harvest Moon since the 1700’s because it gave enough light for people to work late in the fields to get in all the produce before the frosts. With a geodesic dome greenhouse you don’t need to worry as much about frost (especially with the help of a rocket mass heater or a flock of chickens). If you have access to the electricity grid, you might not need to worry about light as much either. But if you grow a garden, you will certainly face the challenge of the sudden abundance of a crop (as well as the sudden failure of a crop).
In any given year, you will generally find that some plants produce well and others not as much. Which crops do well may change from year to year, or you may find that you have the right conditions for a particular type of plant and it consistently produces well.
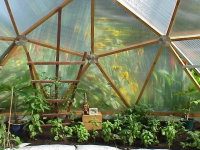
While the greenhouse dome is more limited in space than many backyard gardens, it does mean you can extend the growing season. Or you could focus on one particular crop (tomatoes, peppers, lemons, flowers or herbs) that enjoys the warmer dome ecosystem. Even with staggered plantings, crops often ripen all at the same time. If you have enough space for a food forest, autumn is also when all the tree fruits ripen. You may need to put in a few late nights to harvest everything before an early frost.
Saving your own seed is an easy way to maintain crops that do well in your bioregion. Many of those annual garden seeds are ready for harvest in September and October as well, before the rains set in (on the West Coast of North America).
So what do you do with twenty pounds of cucumbers? Or a mint patch that has taken over the whole yard and needs to be cut back? Where do you dry out a few dozen bean plants before hulling for seed and cooking? And what about all the apples that dropped to the ground and got bruised before you could pick them?
Each of these crops does best with a different storage technique.
Cucumbers are great pickled. They can be pickled with old-fashioned salt brine fermentation, like sauerkraut, or with modern water-bath bottling in a vinegar brine. Cucumbers can also be chopped fine with other surplus produce (e.g. onions, green tomatoes, zucchini) to make sweet relish or chutney.
It is important to make sure that bottled foods are sufficiently acidic (pickles), sweet (jams) or salty to keep the deadly botulism bacteria from growing in the anaerobic environment. Alternately, you could invest in a pressure canner, learn how to use it, then can at high temperatures which destroy any nasty microorganisms.
Apples and plums can be bottled like this, or cooked down into sauce first.
Fruit can also be juiced, fermented into wine, or frozen. The most space-efficient storage method is to dry thinly sliced fruits and vegetables in the upper part of your greenhouse or commercial dehydrator. Without moisture, the abundance from the Biodome and garden can be stored in sealed containers for many years without refrigeration.
When you cut back vigorous herbs in mid-summer, save the best and dry them for teas, medicines or kitchen flavorings. Spread the herbs on a rack or tie them in bunches and hang them up out of direct sunlight. Seed crops can also be dried this way before processing. Seeds and herbs both store best in the dark, cool and dry.
Nuts, garlic, onions, potatoes and squash also like to be stored dry. You can turn an unheated attic, garage or back-room into a storage pantry if your house doesn’t have enough dedicated space for keeping food. Remember to check on stored produce regularly. One bad apple can ruin the whole box.

Other garden crops like to be stored damp and cool. On the West Coast, winter root crops (carrots, parsnips, beets, leeks and turnips) can be left in the garden, well covered with soil and mulch, to be dug as needed. If the ground freezes in your area, then you need a root cellar dug into the ground or some other dark insulated space to store root vegetables buried in layers of damp sand or sawdust.
In between all these busy squirrel-like harvest activities, remember to sow a crop of late lettuce, radishes, kale, cress or spinach in your Eden Biodome so you can continue to enjoy fresh greens throughout the winter.
It’s true that food grows on trees, and avocado trees grow in geodesic greenhouses, but you have to be ready to take advantage of the seasonal abundance when it comes and store enough away to last until the next harvest from your biodome.